

BY PATRICIA NEWMAN
Warning! This project is full of hands-on project-based learning (PBL) at its best! Our rivers are the lifeblood of our country. They provide drinking water, homes for fish and other wildlife, recreation, and transportation. But we often take them for granted. This lesson shines spotlight on how rivers form and how our actions change them.
Objective
Students will create classroom stream tables to understand how rivers form and what affects the flow.
Materials for each group of students
- Student notebooks
- 3 disposable rectangular aluminum trays, such as turkey roaster pans
- Scissors
- Coffee filter
- Duct tape
- Drinking straw
- Hole punch
- Nail
- 32-quart rectangular plastic storage bins or another aluminum pan
- Bag of sand, enough to fill each aluminum pan halfway
- Spray bottle
- Wooden blocks, 4 – 6
- Water jugs filled with water
Vocabulary
headwaters, mouth, upstream, downstream, tributary, meander, channel, riverbank, erosion, deposition
Engage
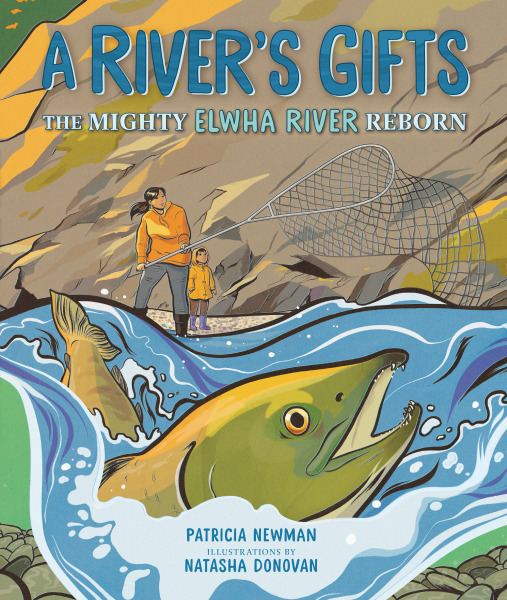
Read A River’s Gifts by me, illustrated by Natasha Donovan. Discuss characteristics of the Elwha River and compare them to a river near you. What are some similarities or differences between the rivers? For example, do they flow from north to south? Do they both have salmon? What are the connections to Indigenous people? Find each river on a map or a globe.
Explore
Constructing the stream table
The written instructions for making the stream table are below, but it might be more efficient to show students the video, too.
Hand out one aluminum tray, one plastic storage bin, and a few wooden blocks per student or group. Tell students that each aluminum tray will be their stream table. The wooden blocks will be used to prop the stream table up to form an incline, and the plastic storage bin will be placed under the hole in the aluminum tray to catch any runoff water.
Use scissors or a nail to poke holes at one end of one aluminum pan. This will be the “mouth” of your river where the water drains into another aluminum pan or the plastic storage bin. Tape a coffee filter over the holes (but don’t cover the holes with tape) so you don’t lose sand as the water drains off.
OPTION: Try connecting up to 4 aluminum trays together with duct tape. You’ll need to cut the short end and fold it out of the way to slide the trays together.
Adding sand and water
Have students pour sand evenly into each tray until it is filled halfway. Spray the sand with water and stir the sand around until it is evenly moistened. This will help hold the sand inside the aluminum tray when it is propped on an incline.
To make your water source, ask students to fill their 2 liter bottle with water. Cut about 1.5” to 2” off the straw. Take a 2” piece of duct tape, and using the hold punch, punch two holes opposite each other. Place the tape over the mouth of the bottle to the two hole are within the area of the open-ing. Insert the straw piece in one hole. The other hole allows air to enter the bottle for easy pouring. Students may have to prop the water jug on blocks as well, in order to make sure the spigot reaches the inside of the aluminum tray.
Explore
- Ask students to predict what will happen when the water is turned on. Have students turn on the water so that it pours in a steady, moderate stream.
- Have students record their observations in 10-minute intervals for about 20 – 30 minutes. Students should include sketches at each interval.
- Turn the water off after 20 to 30 minutes. Have students discuss the similarities or differences between each of their models. What were their observations? Did each model have the same result? How did the landscape influ-ence the course of the river?
- Have students empty the water from the plastic bin and refill the water jug to prepare for the next experiment.
Explain
- Have students remold the sand in the tray to create a surface with several hills and valleys.
- Ask students to predict what they think will happen in this scenario. Will the same river formation happen? Have students turn on the water so that it pours in a steady, moderate stream.
- Have students record their observations in 10-minute intervals for about 20 to 30 minutes. Students should include sketches at each interval.
- Turn the water off after 20 to 30 minutes (or until your bin is full). Have students discuss the similarities or differences between each of their models. Did each model have the same result? How did each landscape influence the course of the river? How were the results different or the same, compared to the flat and inclined model?
Evaluate
Evaluate student work based on their ability to follow directions and contribute to the discussion.
Extensions
- Change some of the variables to observe how they affects the river’s path and speed, or the erosion and deposition of sand. Students can create their own variables to test or try one of the following:
- Place other objects in the sand, such as small pebbles, stones or small plastic houses or trees.
- Build a dam in the middle the river.
- Place two or three water jugs next to each other and turn all spigots on at the same time.
- Mold the sand into a valley. Compare the differences when the water flows directly down the middle, to what happens when the water flows from the inclined section of the valley (the long side of the tray).
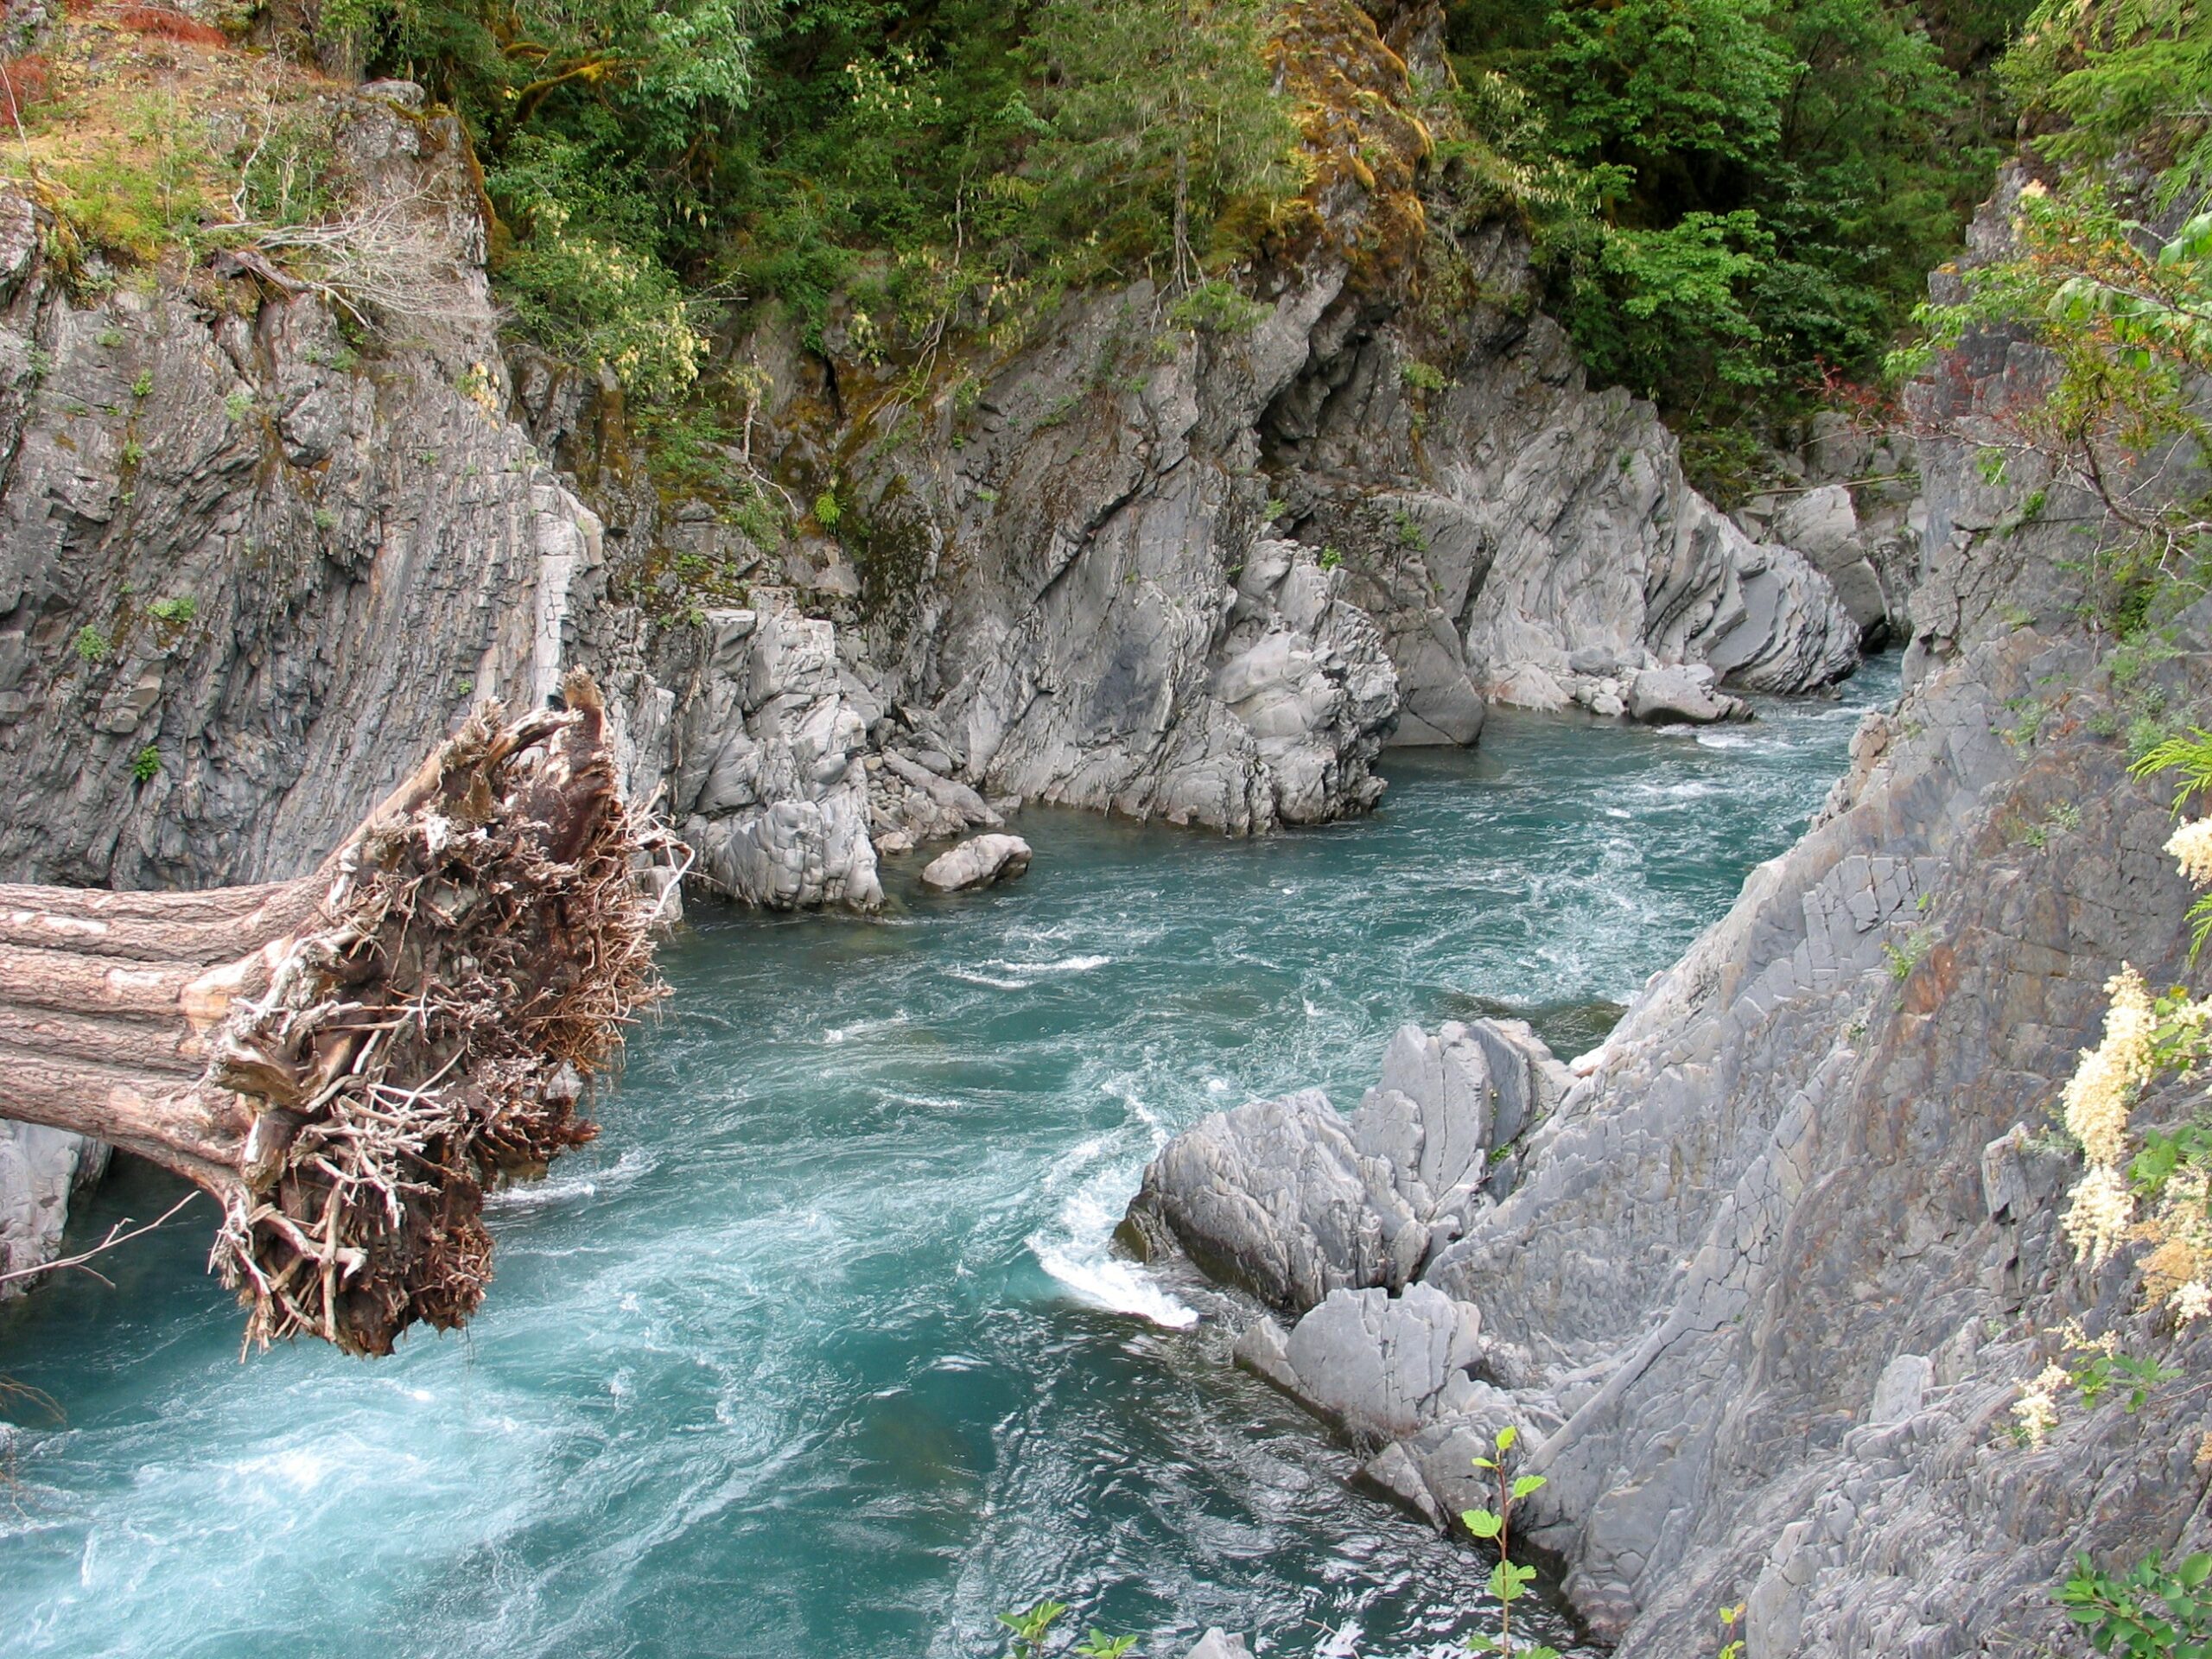
Featured image credit: “Elwha River at Goblins Gate1” by Elwhajeff / Jefftaylor@xwb.com (talk) is licensed under CC BY-SA 3.0.


Leave a Reply
Your email is safe with me.